")


Replacing your vehicle’s brake pads is a crucial maintenance task that ensures your car can stop safely and efficiently. The braking system relies on friction to convert kinetic energy into thermal energy, and worn-out brake pads can compromise this process.
By undertaking a DIY brake pad replacement, you can save money and gain a deeper understanding of your vehicle’s mechanics. This tutorial will guide you through the process, providing a step-by-step approach to help you replace your brake pads with confidence.
Key Takeaways
- Understand the importance of brake pad replacement for safe vehicle operation.
- Learn the benefits of DIY brake pad replacement, including cost savings.
- Follow a step-by-step guide to replace brake pads with ease.
- Gain confidence in performing vehicle maintenance tasks.
- Improve your understanding of your vehicle’s braking system.
Understanding Brake Pads: Importance and Types
Brake pads are a critical component of your vehicle’s braking system, playing a vital role in ensuring your safety on the road. They are designed to wear down over time, and understanding their importance, types, and signs of wear is essential for maintaining your vehicle’s safety and performance.
What Are Brake Pads?
Brake pads are friction material units that are pressed against the brake rotor to stop the vehicle. They are a consumable item and need to be replaced periodically. The average lifespan of brake pads varies between 25,000 to 75,000 miles, depending on driving conditions and vehicle type.
Types of Brake Pads Available
There are several types of brake pads available, each with its unique characteristics and benefits. The most common types include:
- Organic Brake Pads: Made from organic materials, these pads are quieter and produce less dust. However, they wear out faster.
- Semi-Metallic Brake Pads: These pads offer a balance between performance and durability. They are more resistant to heat but can be noisier.
- Ceramic Brake Pads: Known for their durability and quiet operation, ceramic pads are a popular choice. They produce less dust compared to semi-metallic pads.
- Low-Metallic Brake Pads: These pads contain a mix of metallic fibers and other materials. They provide good braking performance and are less abrasive on rotors.
| Type of Brake Pad | Durability | Noise Level | Dust Production |
|---|---|---|---|
| Organic | Low | Low | Medium |
| Semi-Metallic | Medium | Medium | High |
| Ceramic | High | Low | Low |
| Low-Metallic | Medium | Medium | Medium |
Signs That Your Brake Pads Need Replacement
Recognizing the signs of worn-out brake pads is crucial for safety. Common indicators include:
“If you notice any unusual noises, such as squealing, squeaking, or grinding sounds when you apply the brakes, it’s a clear sign that your brake pads need inspection.”
- Squealing or Squeaking Noises: Often a sign that the brake pads are wearing thin.
- Grinding Noises: Indicates that the brake pads have worn down completely, and metal is grinding against metal.
- Vehicle Pulling to One Side: Can be a sign of uneven brake pad wear.
- Vibrations When Braking: May indicate warped rotors or uneven brake pad wear.
Regular inspection and maintenance of brake pads are essential for ensuring your vehicle’s braking system functions properly. By understanding the types of brake pads and recognizing the signs of wear, you can take proactive steps to maintain your vehicle’s safety and performance.
Tools and Materials for Brake Pad Replacement
Before starting your DIY brake pad replacement, it’s crucial to gather the necessary tools and materials. Having everything on hand will make the process smoother and less stressful.
Essential Tools You’ll Need
To replace your brake pads successfully, you’ll need a few essential tools. These include a car jack stand for safety, a lug wrench to remove the wheel, and a C-clamp or brake spreader to compress the brake caliper. Additionally, having disposable gloves will keep your hands clean and protected.
Recommended Brake Pad Brands
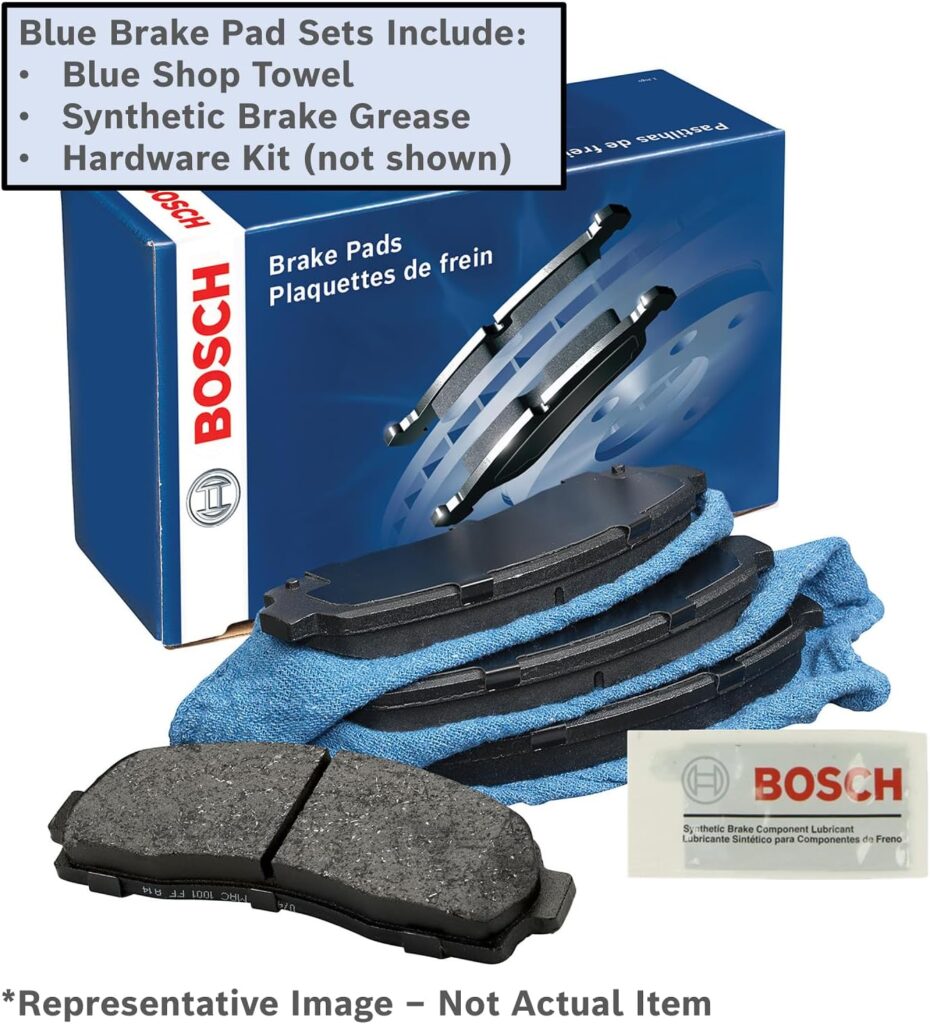
Choosing the right brake pads is critical for your vehicle’s performance and safety. Some recommended brake pad brands include Ferodo, Bosch, and Wagner. It’s essential to select brake pads that are compatible with your vehicle’s make and model.
- Ferodo brake pads are known for their high-quality and durability.
- Bosch brake pads offer excellent stopping power and are designed for various vehicle types.
- Wagner brake pads are praised for their reliability and performance in different driving conditions.
Safety Gear to Consider
Safety should be your top priority when working on your vehicle. In addition to disposable gloves, consider wearing safety glasses to protect your eyes from debris. If you’re working in a garage or enclosed space, ensure you have proper ventilation to avoid inhaling fumes.
By having the right tools and safety gear, you’ll be well-prepared to tackle your brake pad replacement project with confidence.
Preparing Your Vehicle for Brake Pad Replacement
Before diving into the DIY brake pad replacement process, it’s crucial to prepare your vehicle for the task at hand. A well-prepared workspace and vehicle can make a significant difference in the success and safety of the replacement process.
Finding a Safe Work Location
First and foremost, choose a level and stable surface to work on. This is crucial for your safety and the success of the brake pad replacement. Ensure the area is clear of any debris or obstructions that could interfere with your work or pose a hazard. As the experts say, “A safe workspace is a productive workspace.”

Securing the Vehicle: Jacks and Stands
To safely replace your brake pads, you’ll need to jack up the vehicle and secure it with jack stands. Before you start, loosen the lug nuts on the wheel using a lug wrench. Then, position the jack under the vehicle’s frame and raise it until the wheel is off the ground. Place jack stands under the vehicle’s axle or frame for added safety and security.
“Safety is not just a precaution, it’s a necessity when working under a vehicle.”
- Position the jack under the vehicle’s frame.
- Raise the vehicle until the wheel is off the ground.
- Place jack stands under the axle or frame for support.
Removing Wheel Covers and Lug Nuts
With the vehicle raised and secured, you can now remove the wheel covers and lug nuts. Completely remove the lug nuts from the wheel hub and set them aside in a safe place. If your wheel has a hubcap, you’ll need to remove it as well. This will give you clear access to the brake system. Remember, patience and attention to detail are key during this process.
By following these steps, you’ll be well-prepared to tackle the brake pad replacement process. Your safety and the success of the replacement depend on careful preparation.
Step1: Removing the Wheel
The first step in replacing your brake pads is removing the wheel, a process that requires careful attention to safety. This step is crucial for accessing the brake pads and ensuring a successful DIY brake pad replacement.
Loosening the Lug Nuts
Before you jack up the vehicle, it’s essential to loosen the lug nuts using a lug wrench. Turn them counterclockwise until they are loose, but do not remove them yet. This step is vital for safety and makes the process smoother.
Lifting the Vehicle with a Jack
Once the lug nuts are loosened, use a jack to lift the vehicle until the wheel is off the ground. Make sure the jack is securely in place and consider using jack stands for extra safety. This will give you the clearance you need to remove the wheel and access the brake pads.
Removing the Wheel Safely
With the vehicle lifted and supported by jack stands, you can now completely remove the lug nuts and take off the wheel. Place the lug nuts in a safe location where they won’t get lost, and carefully pull the wheel straight off the hub. You’re now ready to proceed with the brake pad replacement process.
Step2: Accessing the Brake Pads
After successfully removing the wheel, you’ll need to access the brake pads by locating and removing the brake caliper. This step is crucial in your car brake repair journey as it allows you to inspect and replace the brake pads.
Locating the Brake Caliper
The brake caliper is typically positioned over the rotor. It’s held in place by caliper bolts. Before you start, consult your vehicle’s repair manual to understand the specific location and type of caliper used in your car.
Removing the Brake Caliper
To remove the brake caliper, you’ll need to unscrew the caliper bolts. Use the appropriate tool, usually a wrench or socket, to loosen and remove these bolts. Once removed, carefully slide the caliper off the rotor. Be cautious not to damage the brake hose attached to the caliper. You may need to hang it using a piece of wire to prevent strain on the hose.
Inspecting the Brake Rotor
With the caliper removed, you can now inspect the brake rotor for any signs of wear or damage. Look for grooves, excessive rust, or scoring on the surface. If you notice any significant wear, it may be necessary to resurface or replace the rotor to ensure optimal braking performance.
Inspecting the rotor is a critical step because worn-out rotors can lead to reduced braking efficiency and increased wear on new brake pads. By ensuring your rotor is in good condition, you’re taking a significant step towards a successful car brake repair.
Step3: Replacing the Brake Pads
Now that you’ve accessed the brake pads, it’s time to replace them with new ones. This step is crucial for ensuring your vehicle’s braking system functions properly.
Removing Old Brake Pads
To remove the old brake pads, gently pull them out of the caliper. They might be stuck due to wear and tear, so be patient and use a bit of force if necessary. Inspect the brake pads for excessive wear and note any damage or uneven wear patterns.
Tip: Take a moment to clean the area around the brake pads with a wire brush to remove any debris or dust that might interfere with the new pads.
Installing New Brake Pads
Take the new brake pads and insert them into the caliper, ensuring they are properly seated. Make sure they are aligned correctly and not twisted. The new pads should fit snugly into place.
It’s essential to use high-quality brake pads that match your vehicle’s specifications for optimal performance.
Ensuring Proper Alignment
Once the new brake pads are in place, double-check their alignment. The pads should be evenly spaced and not touching the rotor improperly. Proper alignment is key to preventing uneven wear and ensuring effective braking.

After replacing the brake pads, you’ll be one step closer to completing the brake pad replacement process. Make sure to follow the subsequent steps to reassemble the brake system correctly.
Step4: Reassembling the Brake System
Now that you’ve replaced your brake pads, it’s time to reassemble the brake system. This step is crucial in ensuring your brakes function properly and safely. Reassembling involves reattaching the brake caliper, checking its movement, and replacing the wheel and lug nuts.
Reattaching the Brake Caliper
To reattach the brake caliper, align it with the brake rotor and slide it into place. Ensure it’s properly positioned before tightening the caliper bolts. Use a torque wrench to secure the bolts to the manufacturer’s specified torque setting.
Tip: Make sure the caliper is not twisted or misaligned, as this can cause uneven brake wear or affect brake performance.
Checking Caliper Movement
After reattaching the caliper, check its movement to ensure it’s functioning correctly. The caliper should move smoothly and freely. If it’s stiff or binding, you may need to adjust or clean it.
- Inspect the caliper pins and slides for any signs of wear or corrosion.
- Lubricate the pins and slides if necessary.
- Check that the caliper is properly aligned with the rotor.
Replacing the Wheel and Lug Nuts
With the brake caliper reattached and checked, you can now replace the wheel and lug nuts. Tighten the lug nuts in a star pattern to ensure even pressure and prevent wheel damage.
| Step | Action | Notes |
|---|---|---|
| 1 | Tighten Lug Nuts | In a star pattern |
| 2 | Lower the Vehicle | Use a jack stand for safety |
| 3 | Tighten Lug Nuts Again | Once the vehicle is on the ground |
By following these steps, you’ll have successfully reassembled your brake system after a DIY brake pad replacement. Remember to check your brakes before driving to ensure they’re functioning properly.
Testing Your Brake System
Testing your brake system is a critical step that shouldn’t be overlooked after replacing your brake pads. This process ensures that your vehicle is safe to drive and that the new brake pads are functioning as expected.
Lowering the Vehicle Safely
Before you can test your brakes, you need to lower your vehicle safely to the ground. Ensure that the area around and under the vehicle is clear of people, pets, and any objects. Carefully lower the vehicle using a jack, and make sure it is stable before you start testing the brakes.
Gradual Brake Testing
To test your brakes effectively, start by driving at a slow speed in a safe, open area. Gradually apply the brakes, checking for any unusual vibrations or noises. This gradual testing helps you identify any potential issues with the brake system.
- Check if the vehicle pulls to one side when braking.
- Listen for any grinding or squealing noises.
- Feel for any vibrations or pulsations in the brake pedal.
Checking for Unusual Noises
While testing your brakes, pay close attention to any unusual noises. A grinding noise could indicate worn-out brake rotors, while a squealing noise might suggest that the brake pads are not properly aligned or are worn out. If you notice any unusual noises, it may be necessary to inspect your brake system further.
By following these steps, you can ensure that your brake system is functioning correctly after a DIY brake pad replacement. Remember, safety should always be your top priority when working on your vehicle.
Maintenance Tips for Extended Brake Pad Life
To get the most out of your new brake pads, regular maintenance is crucial. By following a few simple tips, you can extend the life of your brake pads and ensure your vehicle’s brake system operates smoothly.
Inspecting Brake Pads Regularly
Regular inspections can help identify potential issues early, allowing you to address problems before they become major concerns. Check your brake pads every 10,000 to 15,000 miles, or as recommended by your vehicle’s manufacturer, as part of a diy brakes routine.
Resurfacing Rotors for Better Performance
Resurfacing rotors can significantly extend the life of your new brake pads. When rotors become worn or warped, they can cause brake pads to wear down faster. Resurfacing or replacing rotors as needed is an essential step in car brake repair.
Knowing When to Seek Professional Help
If you’re unsure about any part of the brake pad replacement process or notice any unusual symptoms during diy brakes maintenance, it’s essential to seek professional help. A qualified mechanic can diagnose issues and perform repairs to ensure your vehicle’s brake system is functioning correctly.
FAQ
What are the signs that indicate my brake pads need replacement?
Can I replace brake pads on my own, or should I seek professional help?
How often should I inspect my brake pads?
What type of brake pads is best for my vehicle?
How do I properly clean and maintain my brake rotors?
What safety gear should I wear when working on my brake system?
Can I reuse my old brake caliper bolts when reassembling the brake system?
How do I test my brakes after replacing the brake pads?